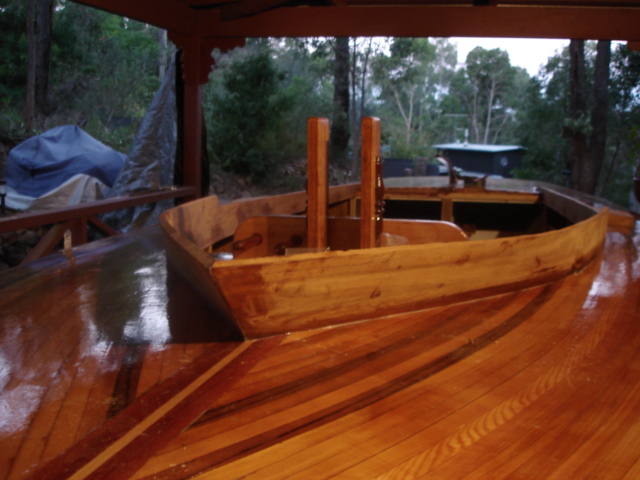
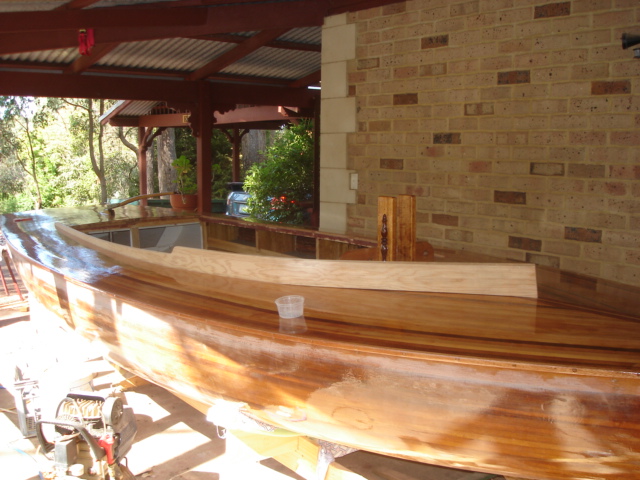
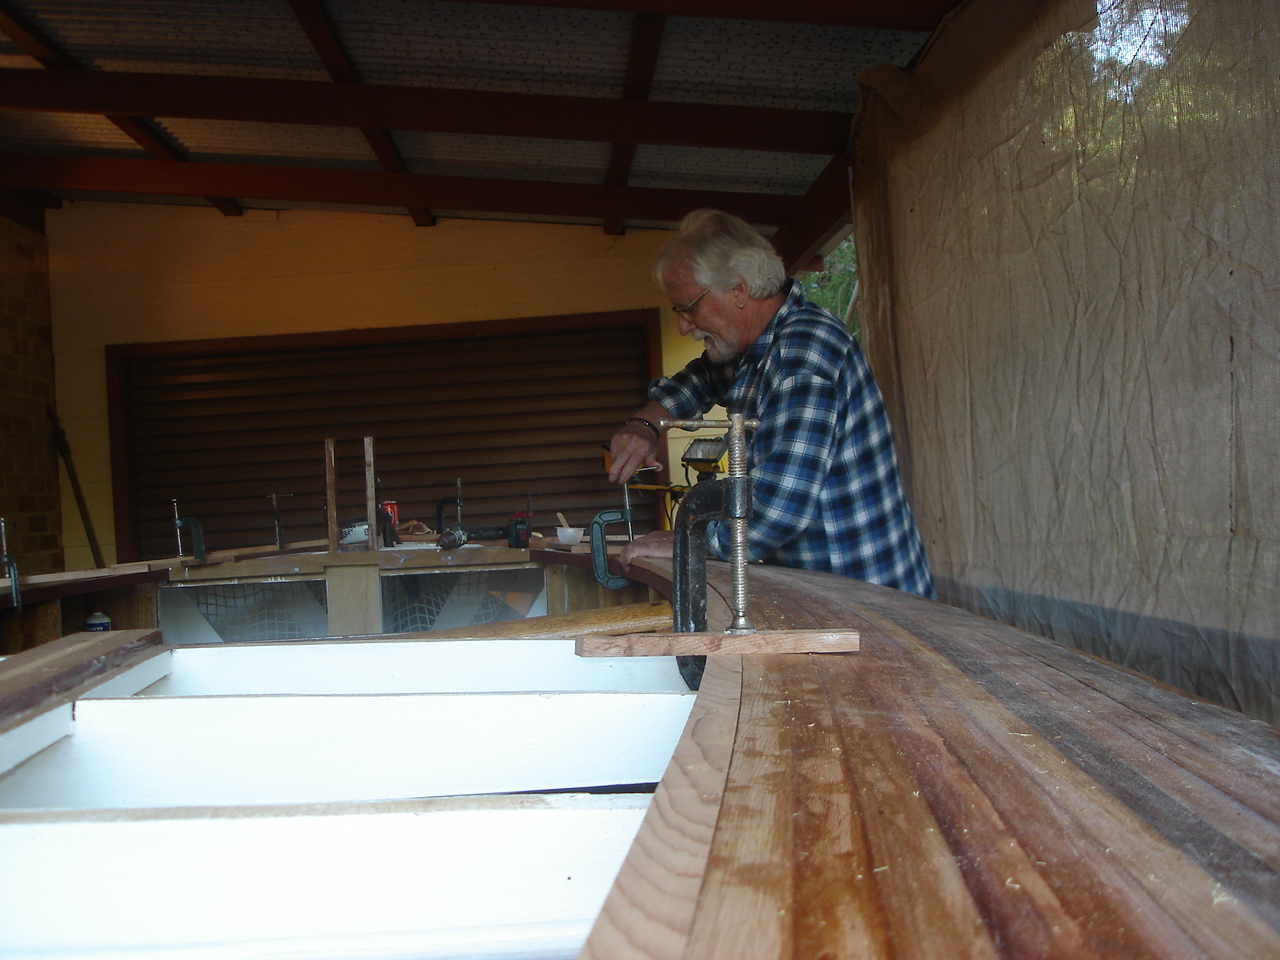
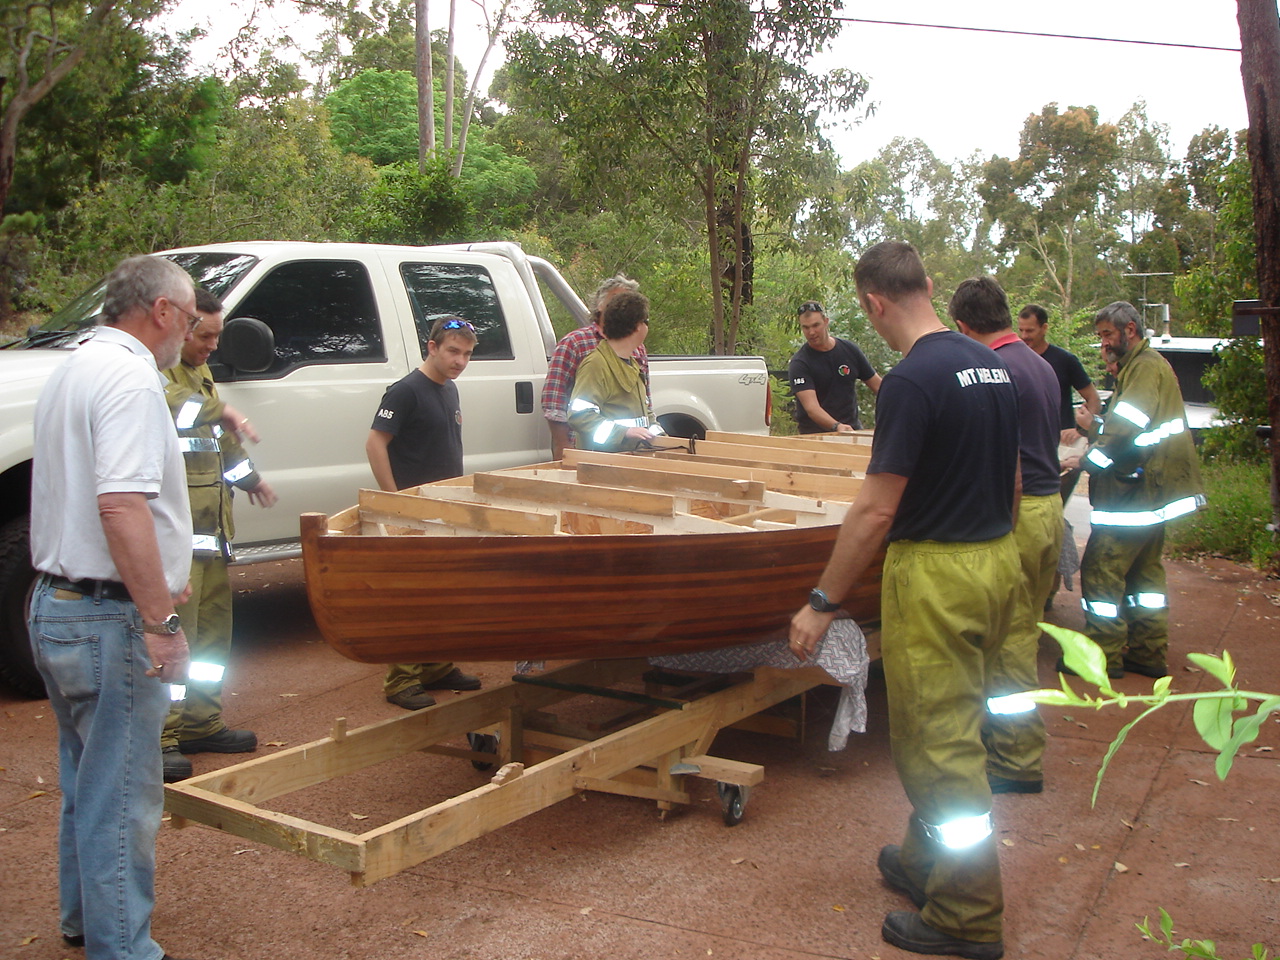
Boat completed (Almost!)

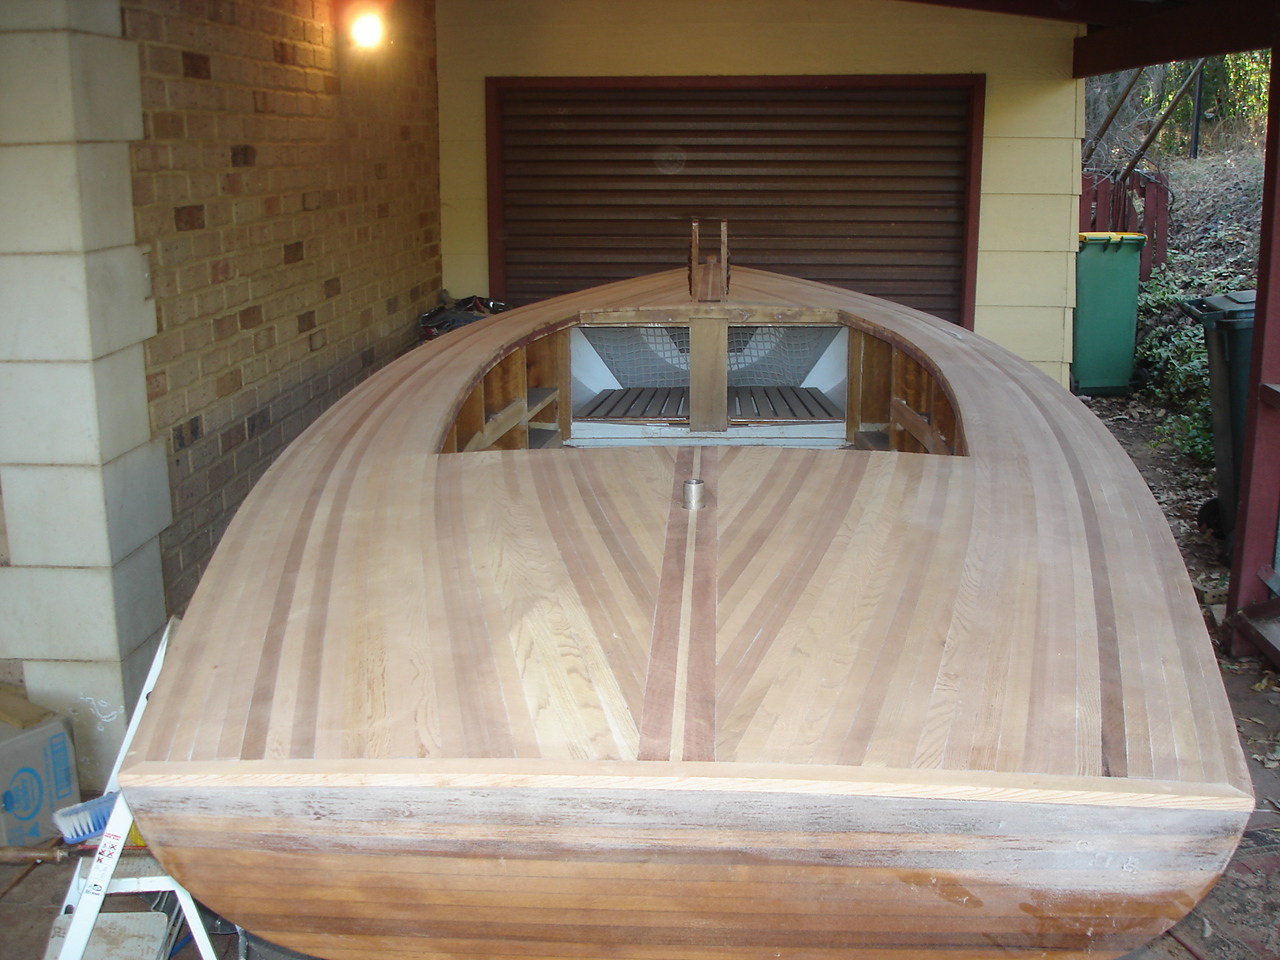
The building of the boat has been completed. The doors to the aft and fore sections of the boat have been hung and catches installed.2015-07-19 14.48.26 2015-07-19 14.48.40 
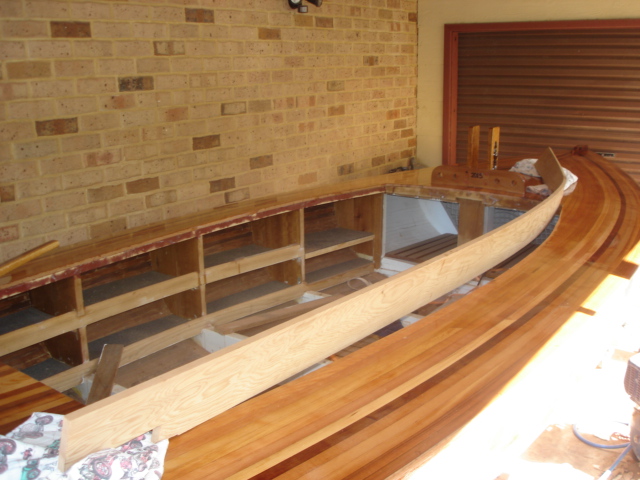
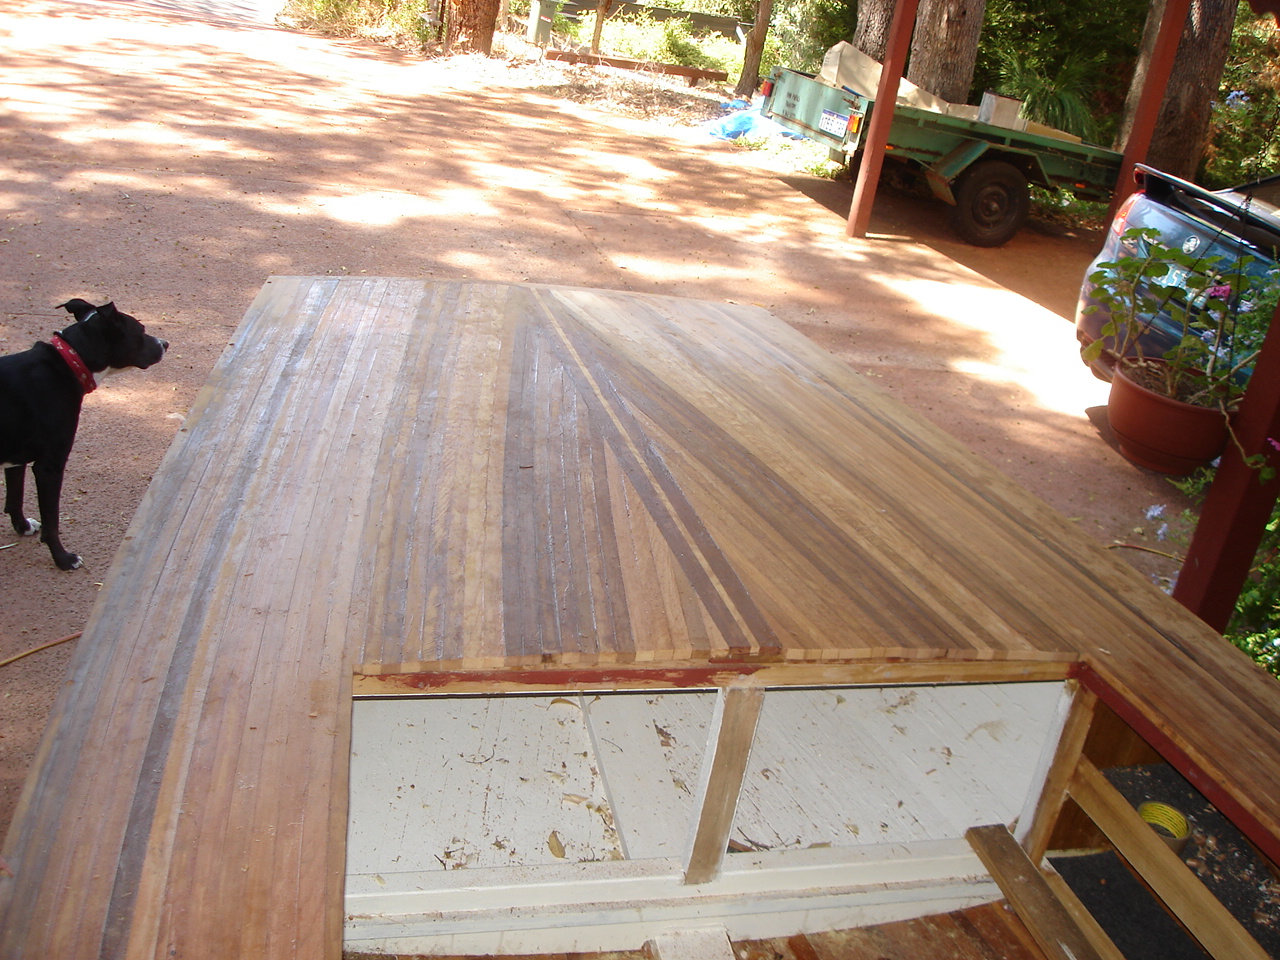
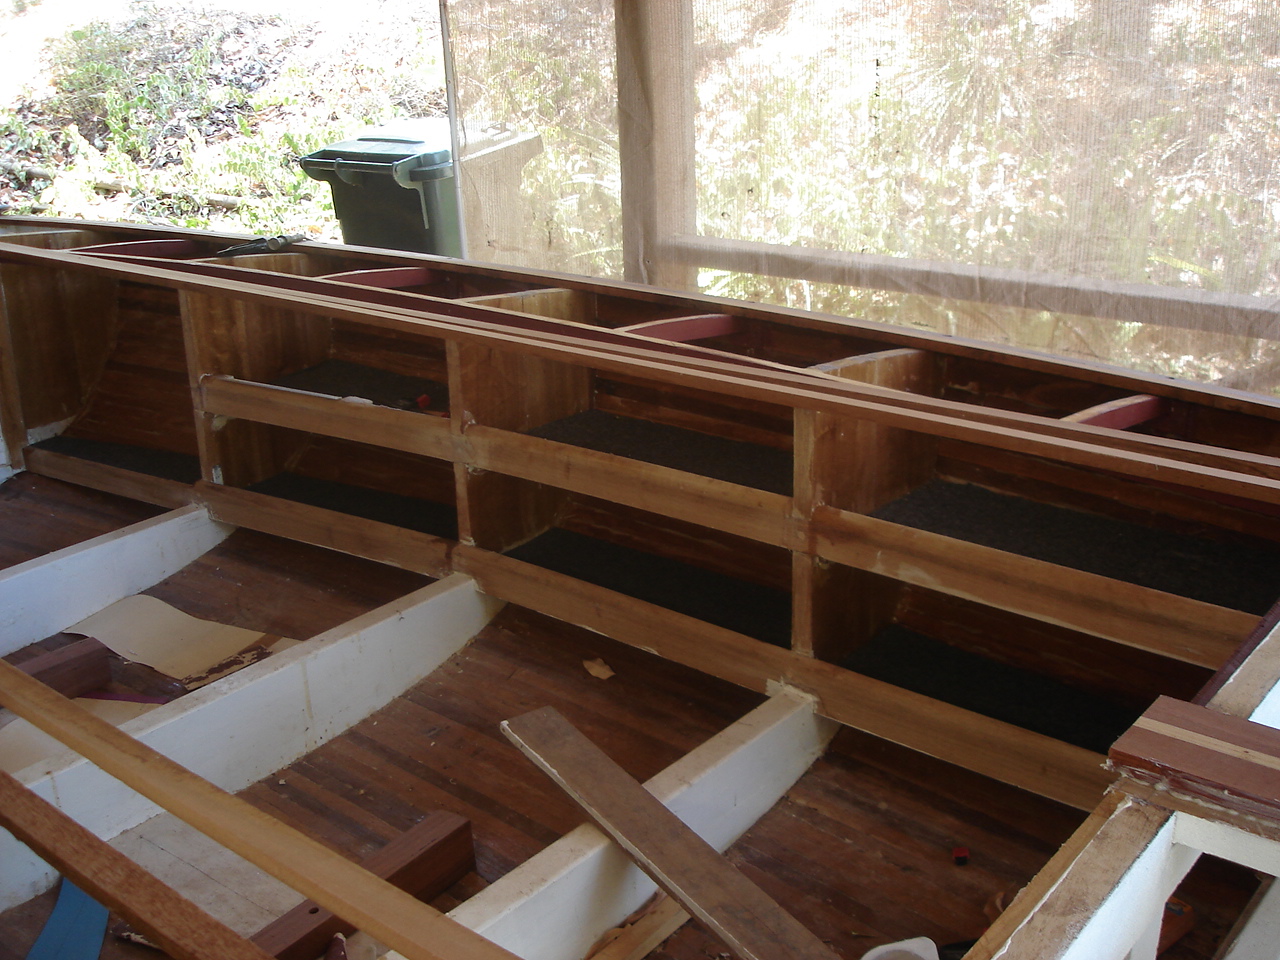
Under deck drawer has been put in as well as a couple of sliding drink holders underneath the side deck. 2015-07-19 14.45.46
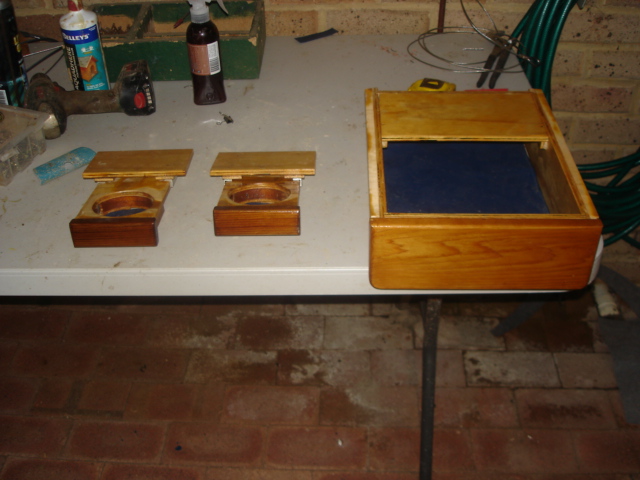
The deck is to have another coat of varnish in addition to the varnishing of the floor.2015-07-19 14.47.56

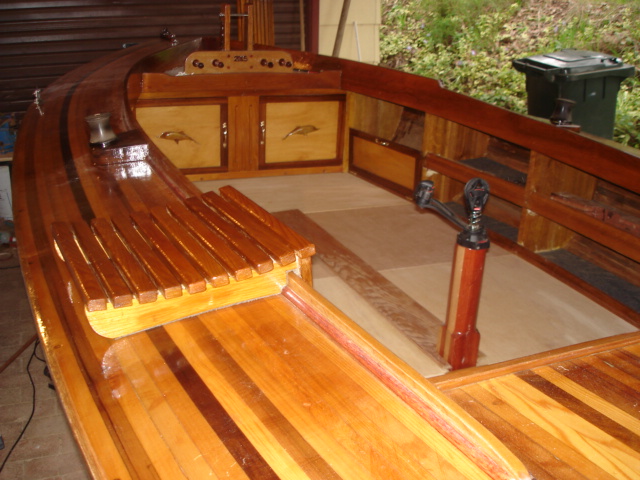
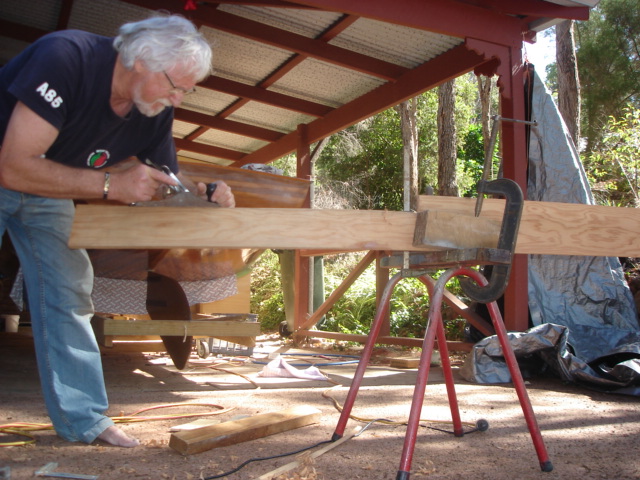
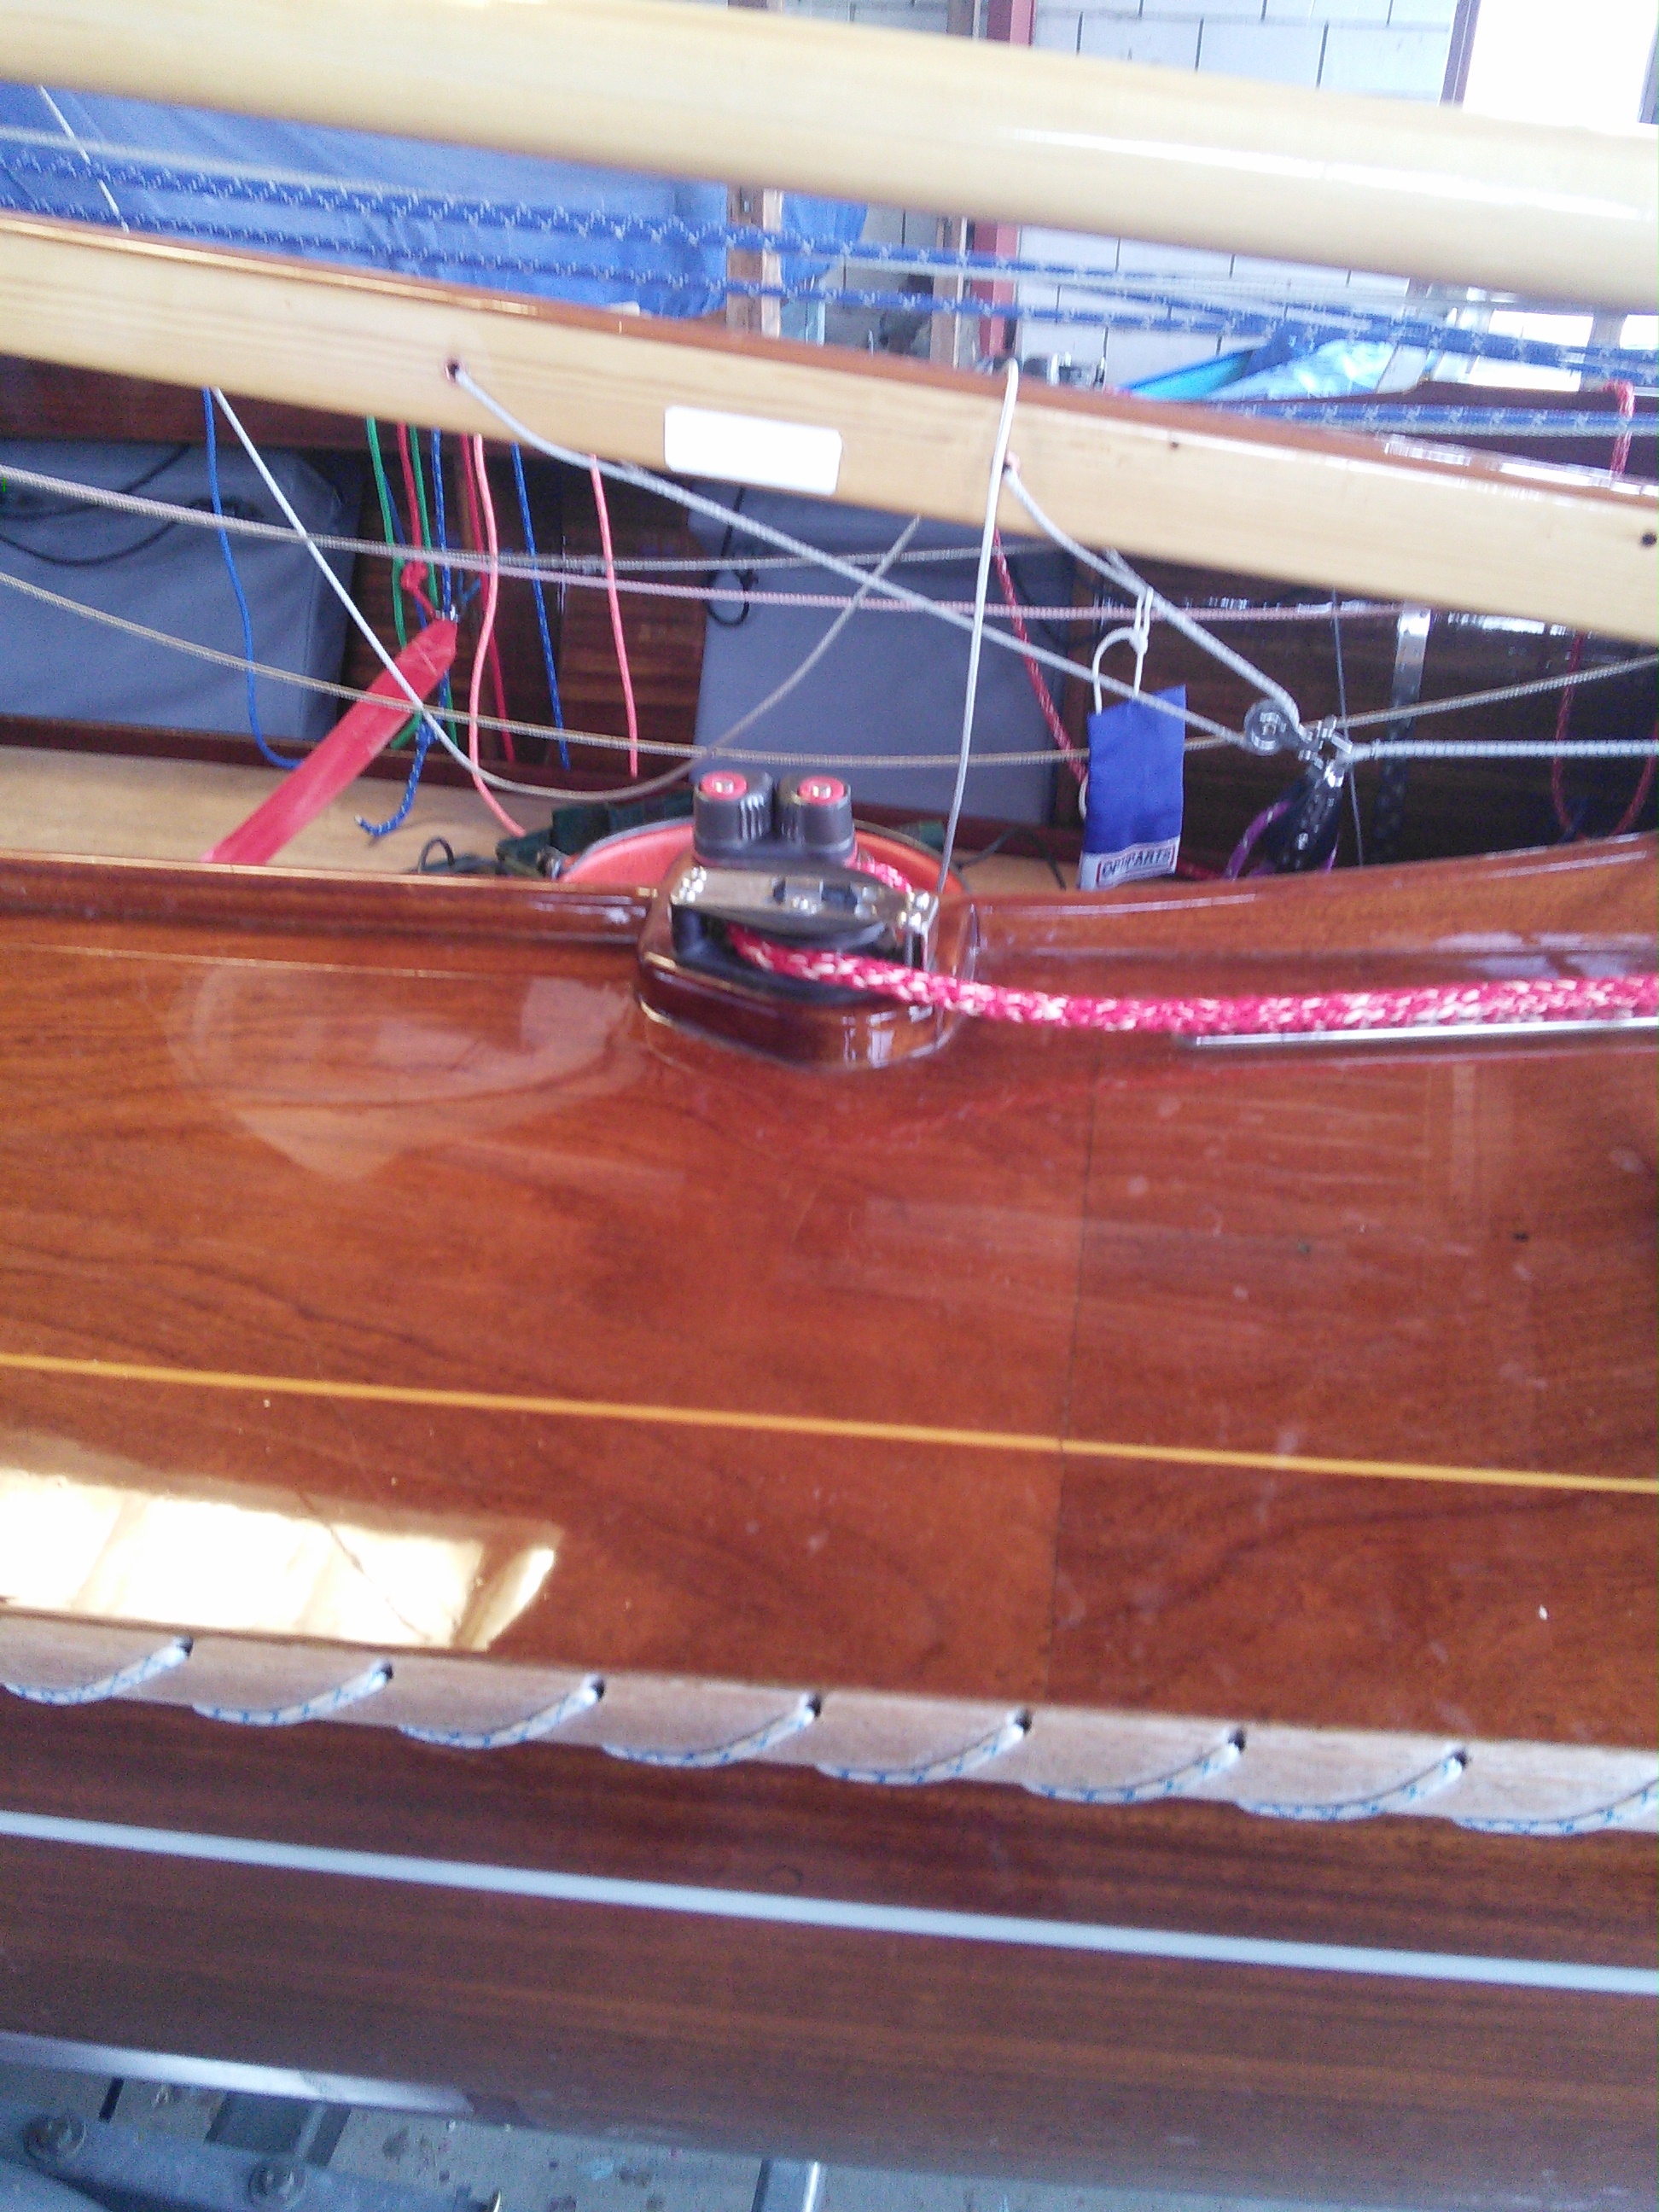
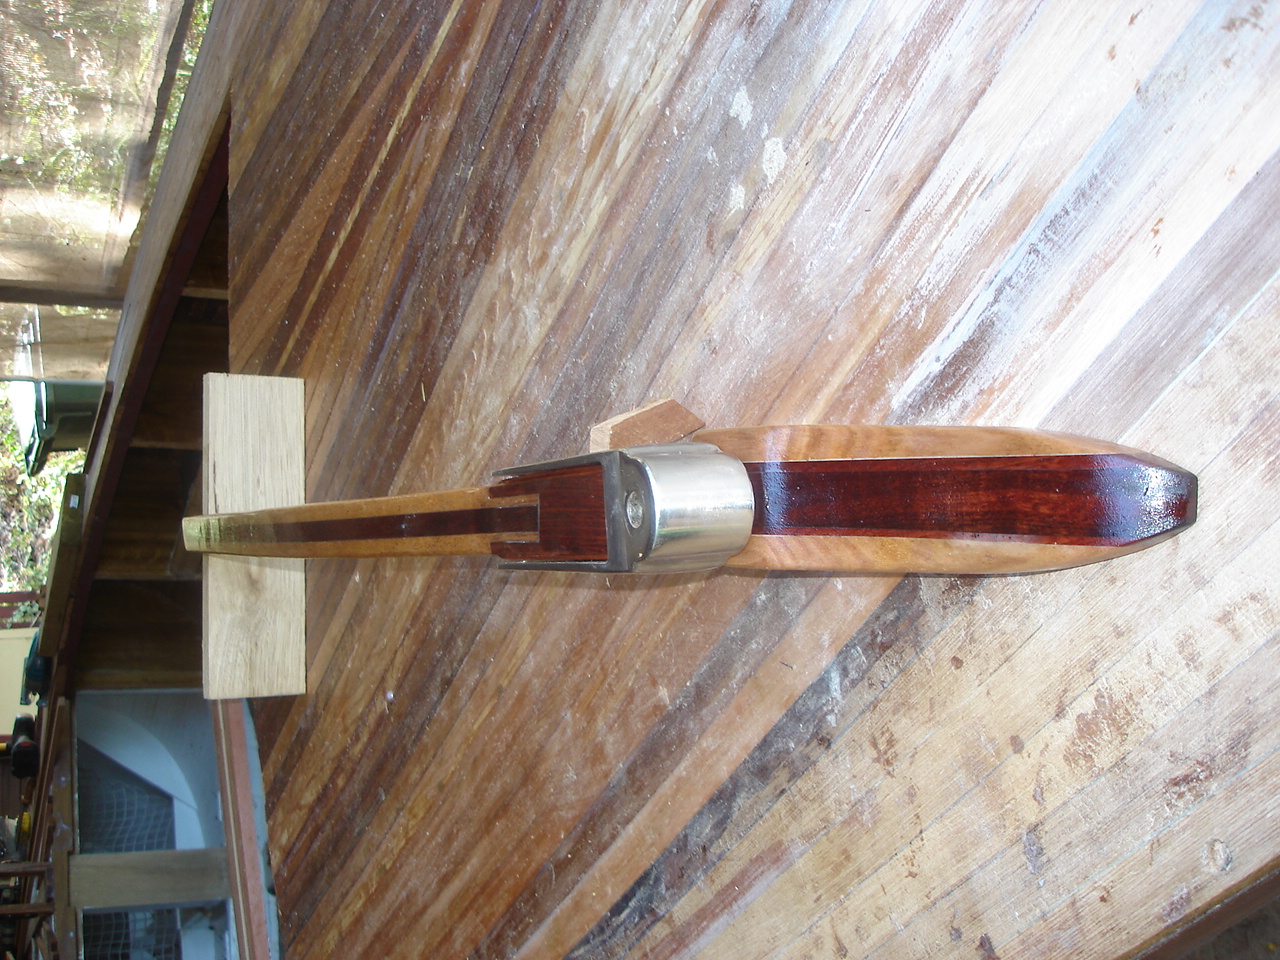
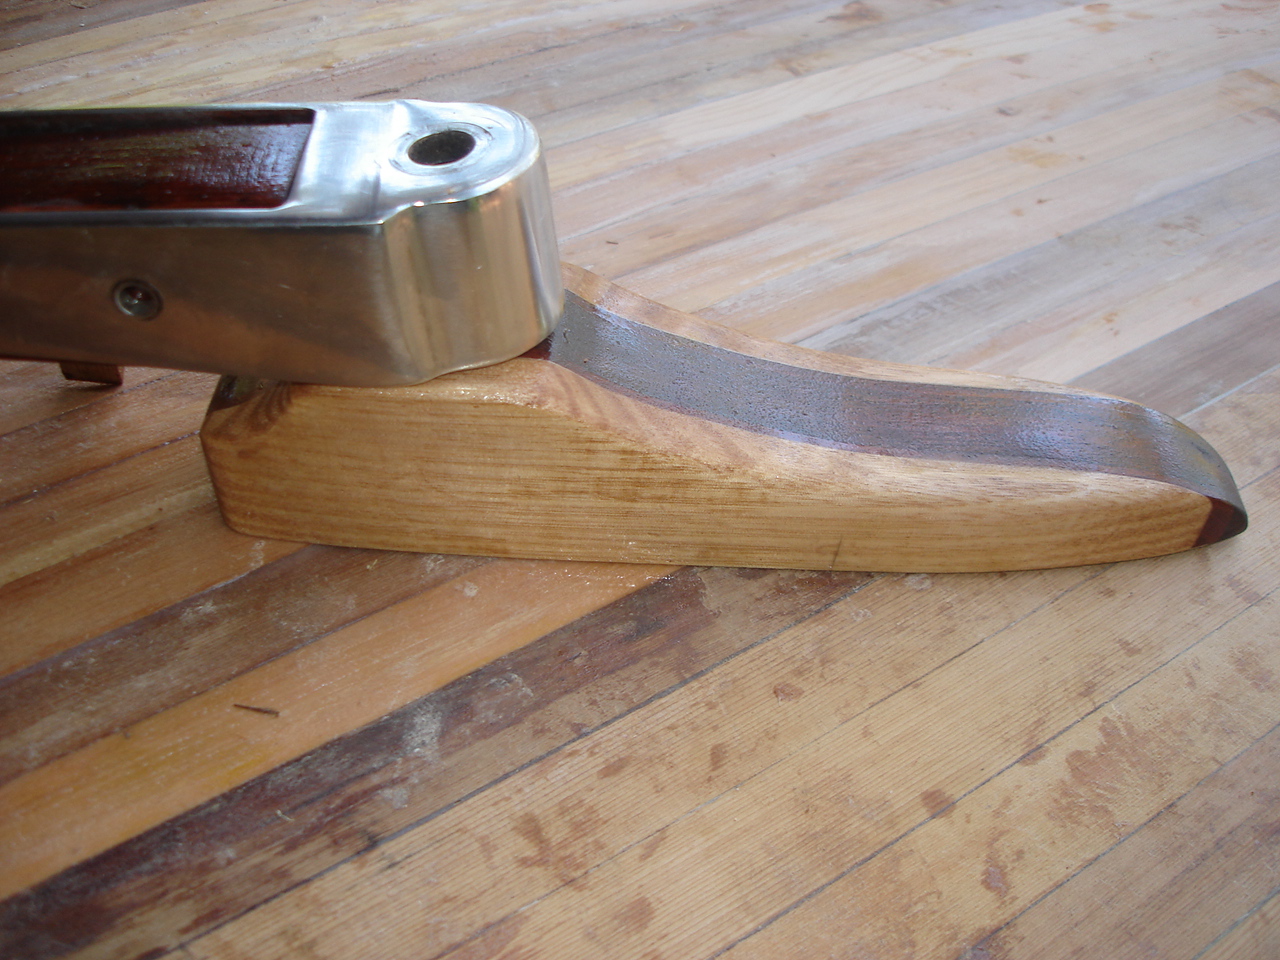
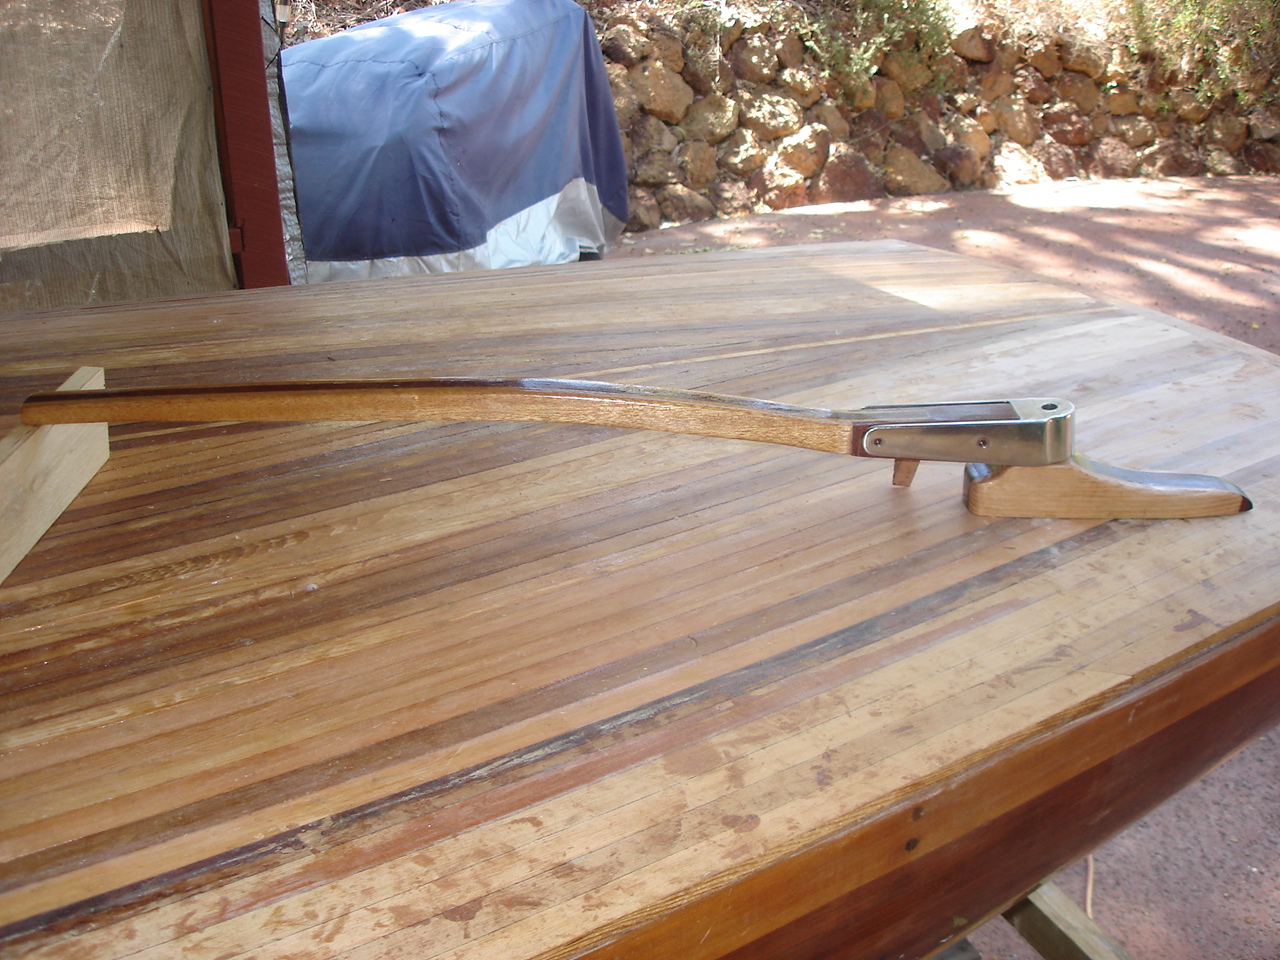
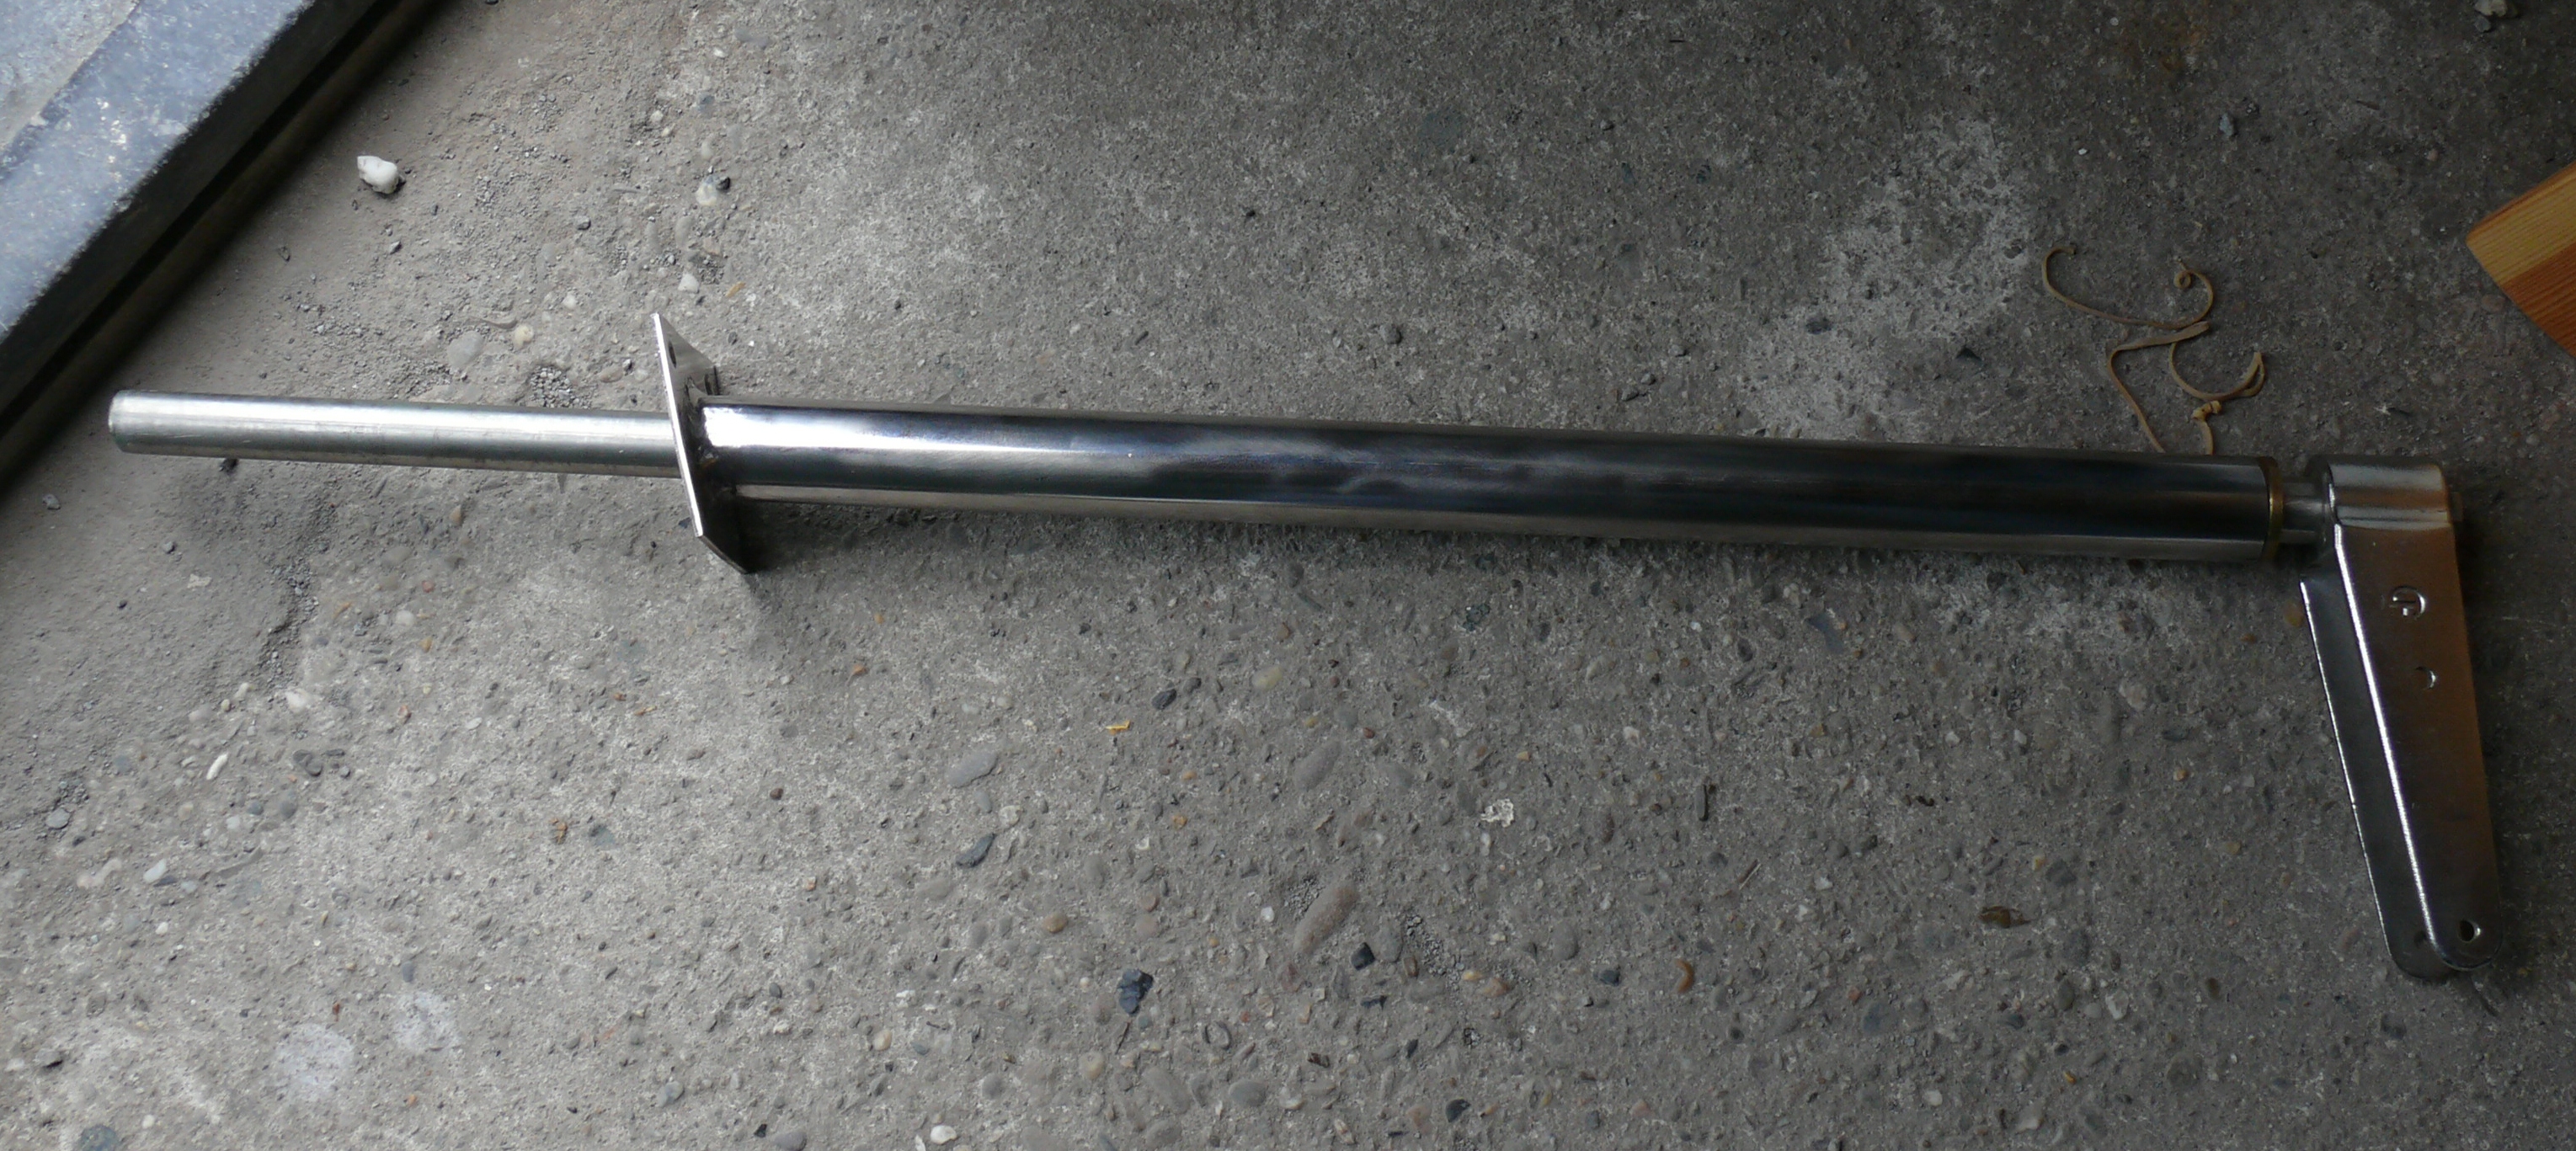
The mast. boom and gaff hardware (stays etc.) DSC01925 DSC01924 DSC01910
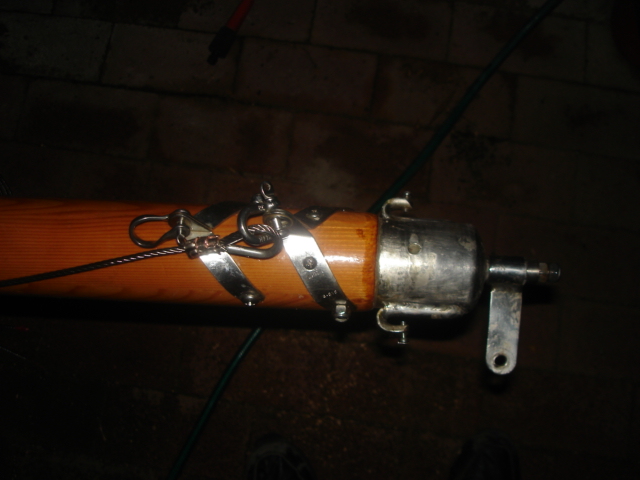
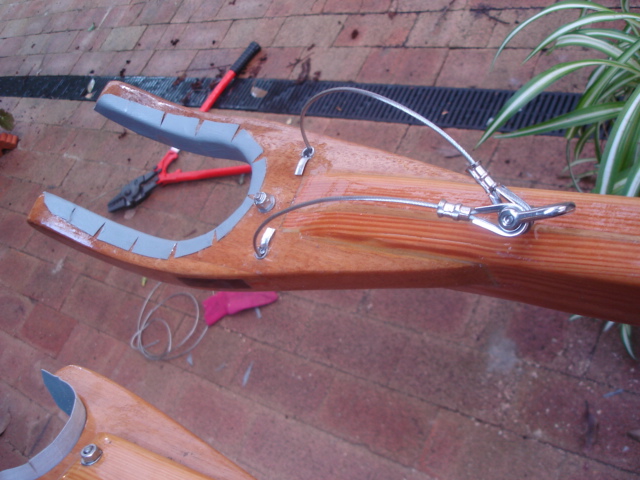
has been installed and the mast is ready to be stepped.

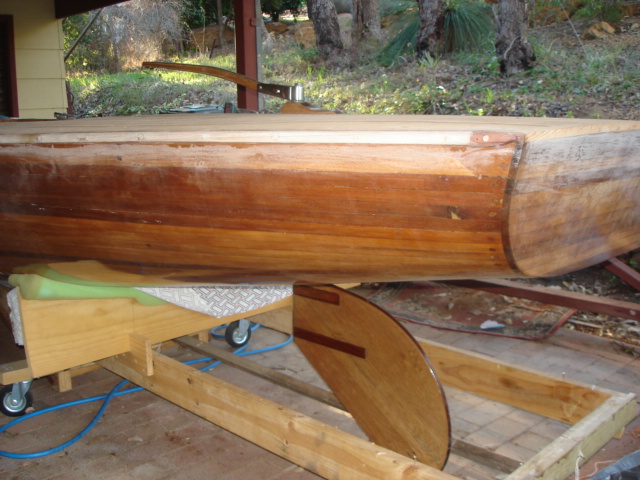
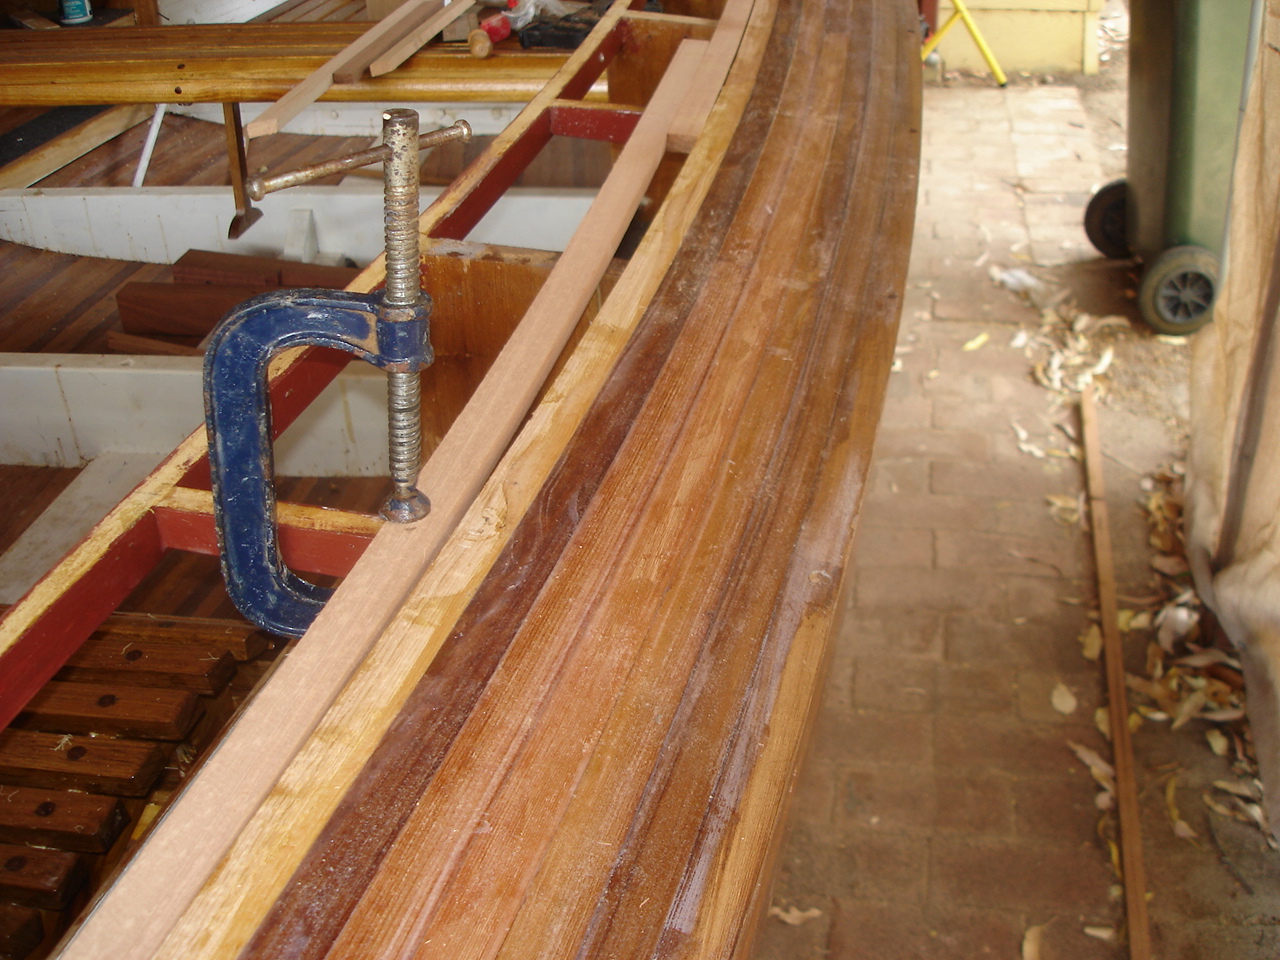
The keel is ready to be attached but that is in the future as the support frame needs to be made higher.2015-07-19 14.50.16 The blocks for the rigging  have all been done.  2015-07-19 14.46.51

Coaming fitted and getting into the rigging and finishing phase

The coaming has been fitted and shaped to the desired height en curve.IMG_1532

I have turned the post for the main sheet to the boom DSC01886

In between glue drying times I constructed the doors to the compartment under the bow.

Added a bit of 3d effect to the doors by carving a dolphin sawing it through its length and locating the resulting reliefs onto the panels.DSC01888

The chainplates have also been fitted.DSC01869 DSC01872


Coaming fitted

A tricky job but it got there. Fitted perfectly. Just have to plane it to shape and the correct height.

DSC01875 DSC01876

coamings and deck epoxy application

Application of 4 coats of epoxy of the deck using the West System completed. DSC01810 The coamings came out the right bend and twist. Now shaping the right angles on the edge to have them sit nice and flat on the deck. DSC01843 2015-05-01 12.54.06DSC01842 Locating the coamings on the foredeck:

Having no idea how this was ‘supposed” to be done, I decided to locate the pointy end on the deck by doweling it into its position. I nailed a pin under the pointy end and snipped it off 3mm from the wood. I then placed the coaming into its position and marked the exact spot for its front by pressing the nail into the deck. This left the mark where I wanted the dowel to go. Next I extracted the pin and inserted a stainless steel dowel. DSC01845

I then drilled a hole at the mark on the deck and placed  the coaming into position and pressed the front and the dowel into position.

DSC01847DSC01848

When everything is lined up and I am satisfied with the outcome I will attach the coamings permanent by gluing and screwing.

I also turned the new belaying pins as I wasn’t happy with the ones I made previously. These are made of  very strong WA Jarrah wood.

DSC01854

Rudder and Tiller

I had made the tiller and rudder to specifications some time ago. I obtained the stainless steel hardware from Edwin Tijsterman  when I was in Holland last.
All fitted nicely except for the strips coming off the main shaft sitting too deeply into the rudderblade. I think it’s like that because the rudder is made completely out of fiberglass on the new boats. I made mine out of Tasmanian oak and filled in the depressions  with jarrah wood strips.DSC01628 DSC01805 The tiller and rudder installed on the boat:DSC01806 The coamings were left in water for a week and are now clamped to the bend and twist required they will be there for a while!!  A bit of ingenuity required to get the shape and the twist :o)!! DSC01802 DSC01801

Long process

Ok still working on the deck in between all the other things that take up my day!!!   Have completed sanding it nice and flat now for the progression through the different grids, 80, 120,340.DSC01766

I am deciding what timber to make the  rub rail around the boat out of and its form. I saw a way that I hadn’t seen/ contemplated before which I find rather attractive. Decisions ,decisions :o)IMG_20140812_210407Decided to go for the traditional!!! installed ready for sanding. I decided to not put a rub rail along the stern and will put a stainless steel half round beading along.

rubrail

rubrail

The timber for the coaming is in the water, Thinking of a jig to get the right bend and twist.

timber for caoming

timber for coaming

Milestone in Sight!

The side decks and aft deck have been done. I want to finish the foredeck this month before I go sailing to the Abrolhos Islands with my mate Mick.

DSC01727 DSC01735DSC01736

Also remade the helm and the helmblock with some delicate joinery to make them to the size of the rudder hardware.

They both needed to be widened and lengthenedDSC01740 DSC01741 DSC01738

Decking

Shaping the slats for the deck and placing them is very labour intensive and a time consuming job on your own. I was reminded by a mate the other day that other than getting some help in turning the boat I have made, fitted and done everything  which  involved timber  myself.         From the frames, to the mast, boom and gaff, to the hull, seats and slatted floors  fore and aft and even rope  blocks, not a single other person has been involved in the boat’s construction, Felt a bit proud of myself!  DSC01724 As I said, fitting the deck slats is getting there slowly but surely as has it has been for every aspect of building the boat. After I threw the 3.2 m lengths through the thicknesser to get a consistent thickness of  15 mm. I used a fine  20tpi blade on my table saw allowing  me to rip the slats with a  beautiful cut on the edge on both sides.  The blade was set at a just over 1 degree angle to create an inward angled edge to make a snug fit when placed against each other over the slightly bowed deck supports.   DSC01723

DSC01696I am awaiting the arrival of deck timber. While waiting I have been working on finishing the front and aft flooring and the benches’ Also the under side deck shelving has been doneDSC01697 and the decking started at least:DSC01698

She looks like a boat. November 2014

After much preparation hanging the hull  in straps and setting up the chainblock to help turn her over my good mates from Mt Helena Voluntary Bush Fire Brigade came over lifted her out of the straps turned her over and placed her on the cradle. Took all of 3 minutes!! Thanks guys!! You made my day.  (after all that worrying  it was done so easily!! :o))

DSC01644 DSC01646 DSC01650